CNC Woodworking Project Foundations · KB-019
Plan a CNC-Cut Plywood Box That Actually Fits
Design a plywood box around measured thickness, cutter radius, assembly clearance, panel orientation and a fit coupon before cutting a full sheet.
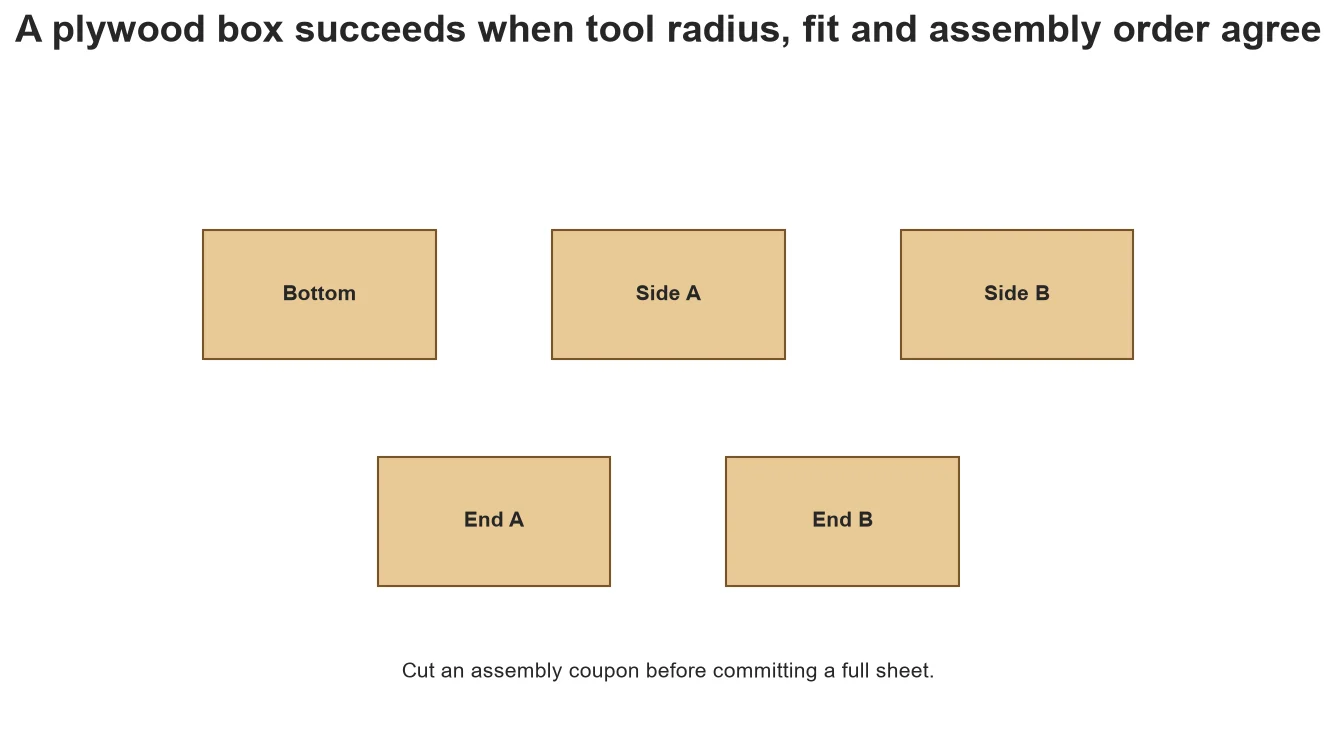
A plywood box looks simple, yet it exposes every weak assumption: nominal thickness, sharp internal corners, panel orientation, fit allowance and assembly order. A successful project treats these as linked parameters and proves the joint on scrap first.
Define the box from inside or outside
Choose whether critical dimensions describe usable interior space or external size. Material thickness connects them. If thickness changes, decide which dimension must remain fixed. Parameterized CAD prevents five panel files from drifting apart after one edit.
Select a joint appropriate to the goal
Rabbet, tab-and-slot and finger-style joints have different strength, appearance and CAM requirements. A first box benefits from a joint with inspectable geometry and adequate material around reliefs. Do not add decorative complexity before the basic fit is proven.
Measure and coupon the panel
Measure production plywood at several points. Create a coupon containing multiple slot or joint clearances around that value, plus the intended dogbone geometry. Cut it with the real tool and setup. Fit should allow the planned adhesive and finish without requiring damaging force.
Control panel orientation
Mark show faces and grain direction, then label every panel in CAD and on the sheet. Mirror errors are common when features belong on an inside face. Verify the setup view, stock face and toolpath side before cutting. Keep inner features ahead of outer profiles.
Dry assemble and inspect
Remove tabs safely, clean edges and assemble without adhesive. Check square, diagonal measurements, corner contact and panel identity. If one joint differs, investigate local thickness, core void or toolpath before changing the global fit parameter.
Control the assembly sequence
Number panels and mark inside faces before cutting. During dry assembly, check diagonals and confirm that joints close without forcing. Plan where clamps can reach and which surfaces require glue cleanup. A box can lock itself out of square when every joint is tight but the sequence is poorly planned.
Use a joint coupon as the project standard
Include several slot widths and the actual corner relief on one small coupon. Test it using offcuts from the same sheet and keep the selected fit beside the drawing revision. If the finished box will be coated, account for whether the coating is applied before or after assembly and how it changes the joint.
Decision table
| Failure | Likely question | Controlled correction |
| Every joint loose | Was actual thickness used? | Update material parameter and recut coupon |
| Corners stop assembly | Is cutter radius relieved? | Add local dogbone/T-bone |
| One panel reversed | Were faces and parts labeled? | Add orientation marks and setup review |
| Box racks out of square | Are joints/diagonals consistent? | Dry-fit on reference and inspect panels |
Worked situation
Four joints fit and one is tight. A global slot increase would loosen all five. Measure the tight location and inspect plywood thickness, veneer damage, core patch and remaining tab material. Correct the local cause before changing the parameterized design.
Practical checklist
- Choose internal or external critical dimensions.
- Measure the actual panel.
- Cut joint coupon with production tool.
- Label faces and dry-assemble.
Frequently asked questions
How much clearance should a plywood joint have?
There is no universal value; tool, material, finish and assembly method require a coupon.
Are dogbones always visible?
Placement and joint design determine visibility; review before cutting.
Should glue be included in the test?
The dry fit should reflect the planned adhesive space and assembly method without forcing parts.
Sources and editorial use
Sources support the technical facts in this original explanation. Their text and images have not been republished.
- Wood Handbook: Wood as an Engineering Material — USDA Forest Products Laboratory
- Vectric Create Fillets — Vectric
- Vectric 2D Profile Toolpath — Vectric